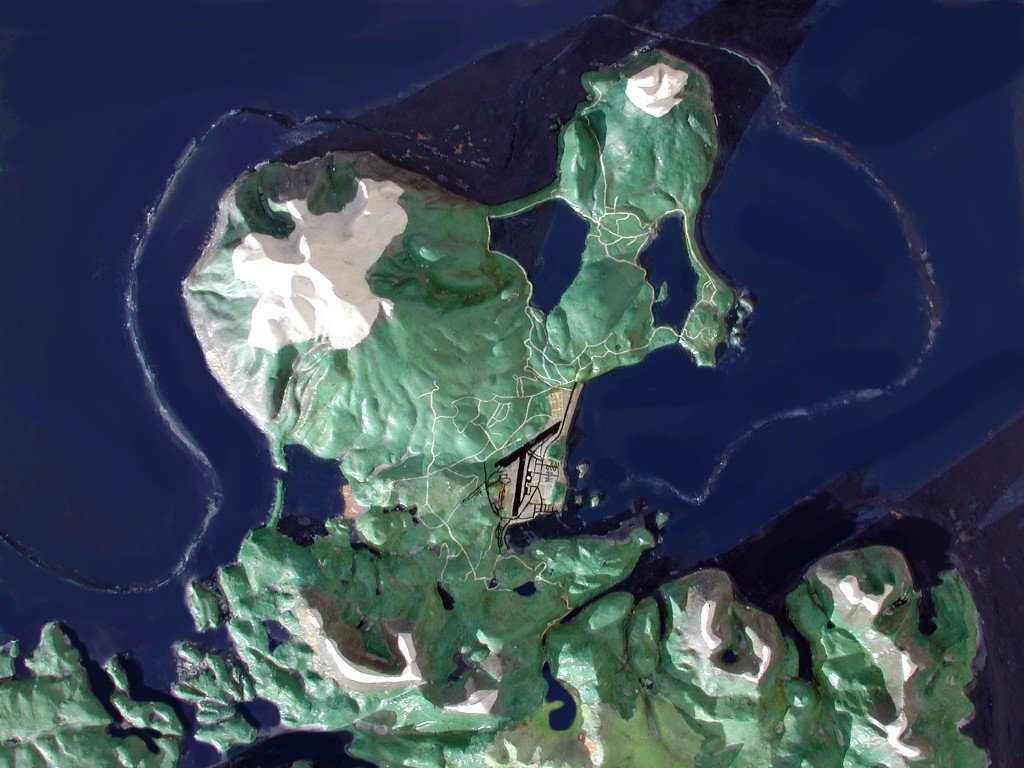
   North half, HUGE  Entire Island, HUGE
|
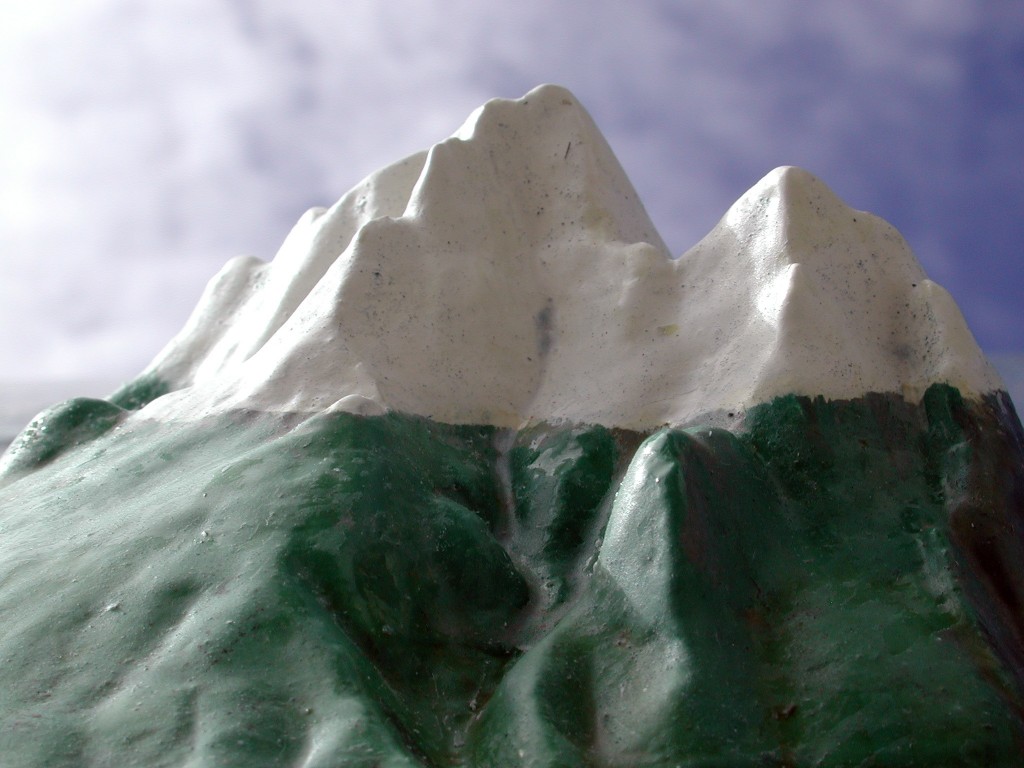
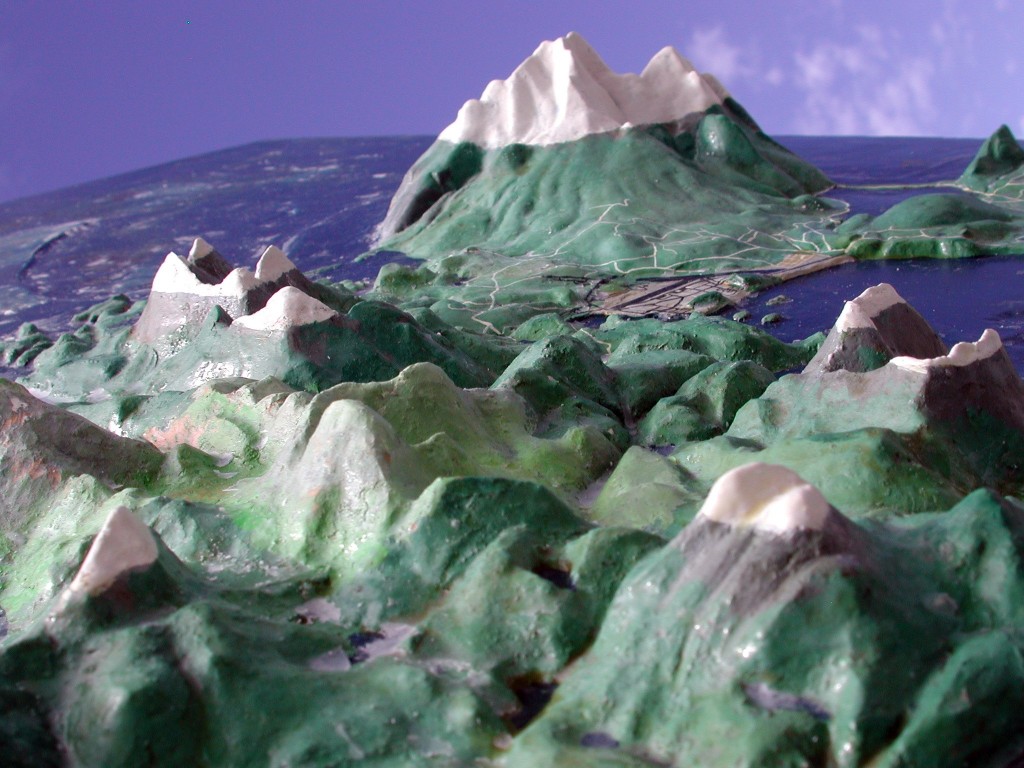
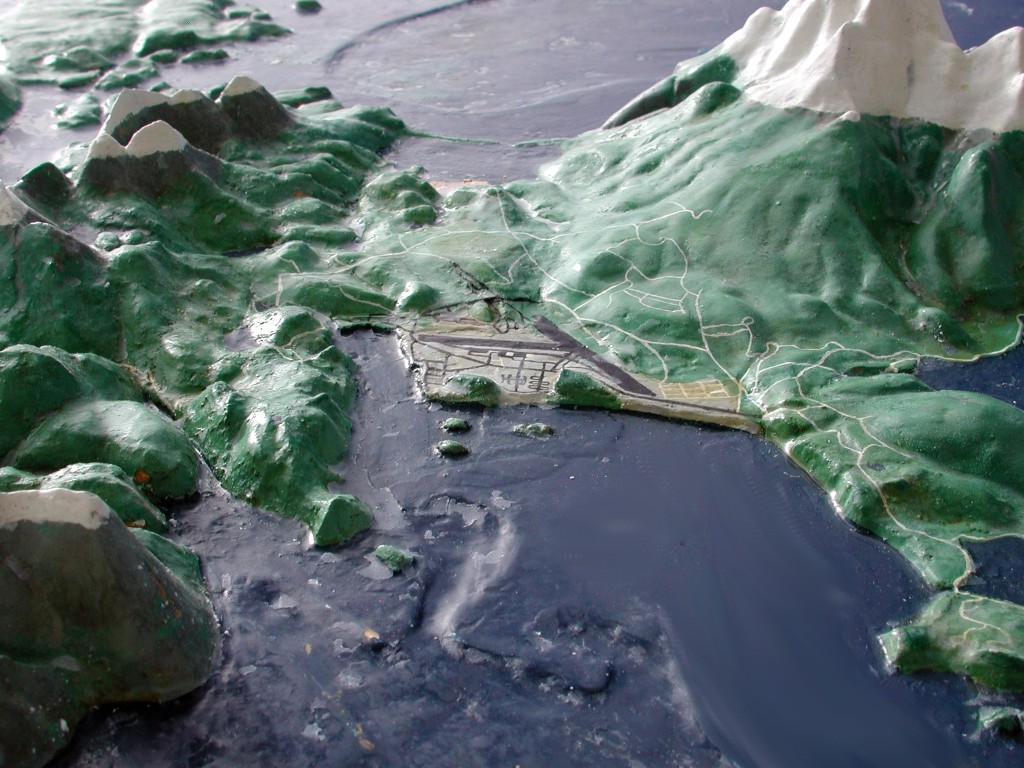
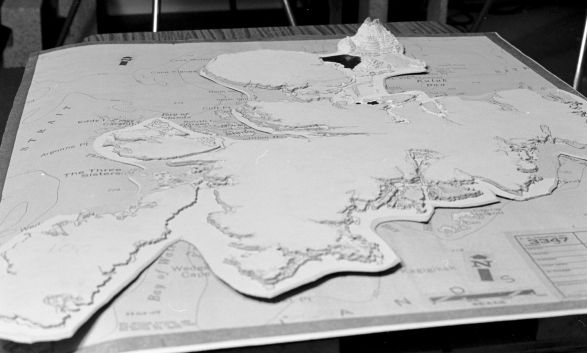
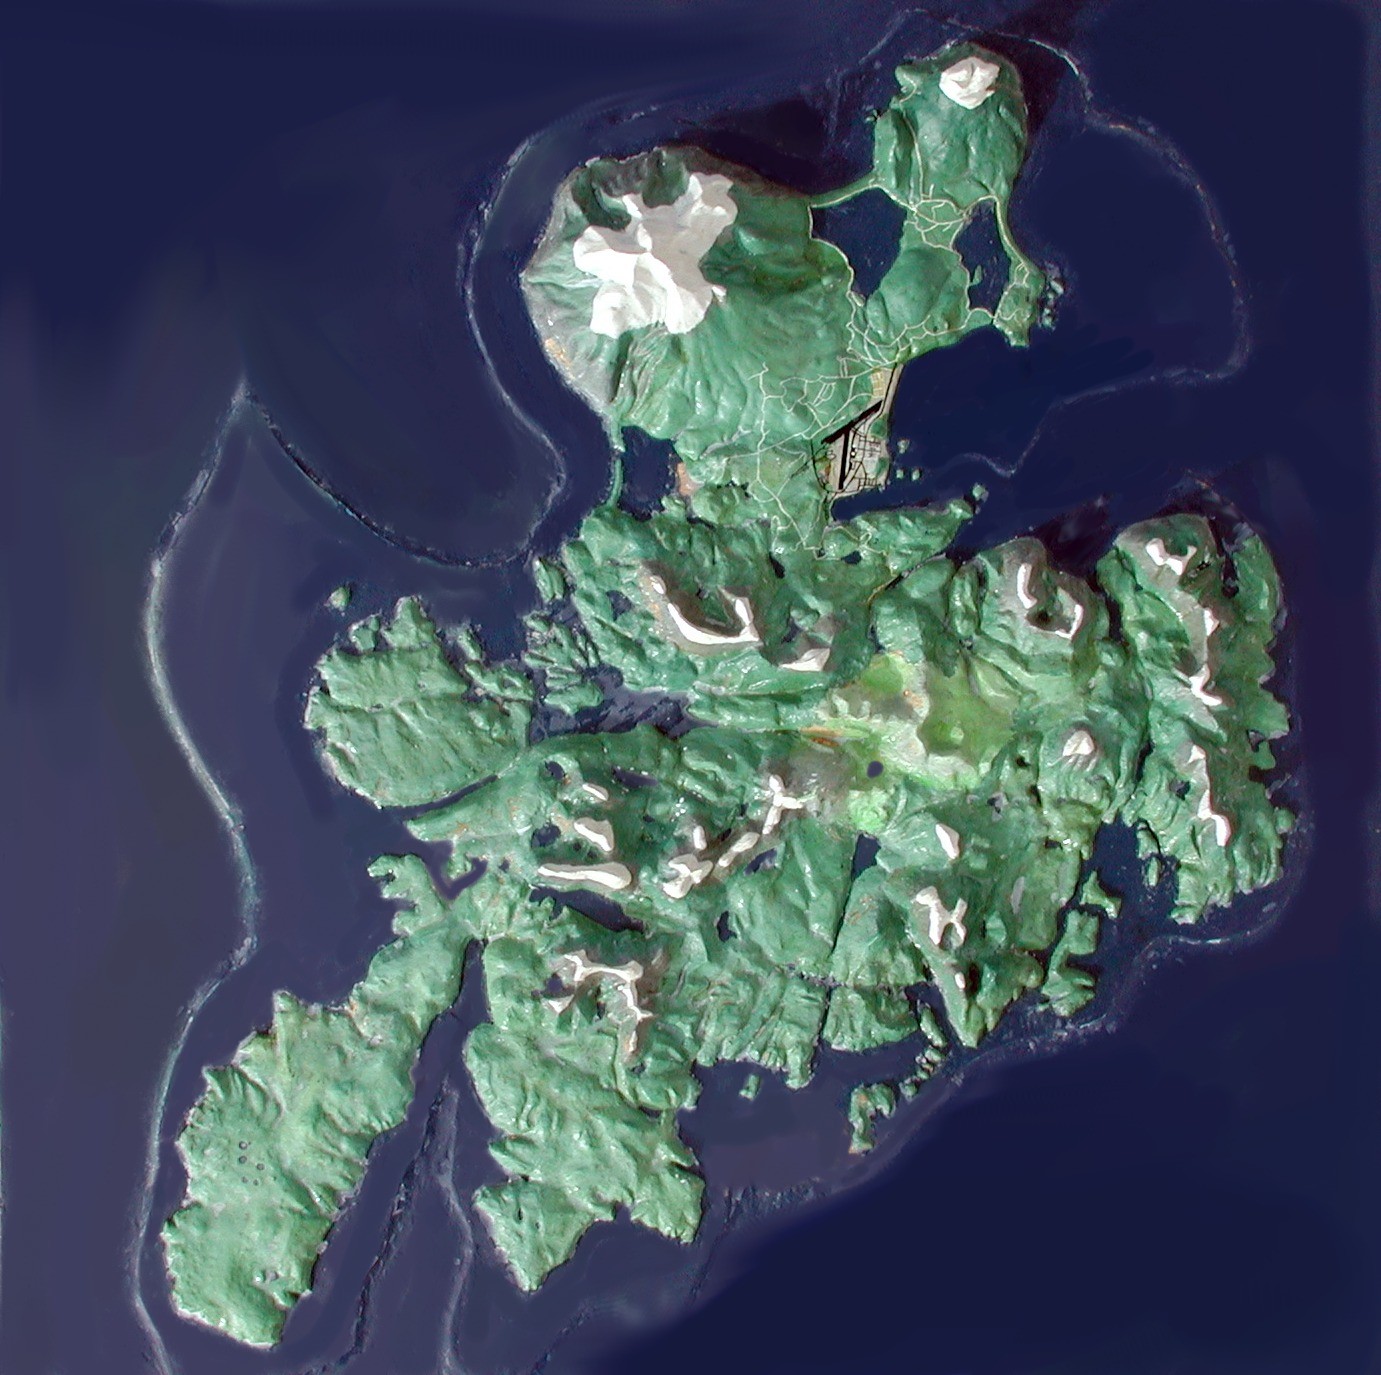
Photos: Click the photos to enlarge, generally to 1024x768 pixels. Its rather large, but detailed, and if you clicked on it it's because you are interested, so why not show you the best? A couple of them have "huge" size, up to 2048 pixels across, much too large to see on your screen (generally speaking, though you can pan around) but are intended for printing. Story, photographs and the Adak relief map were created by Michael Gordon. Permission granted for reproduction of these photographs and text. History: In 1976 I first came to Adak and was immediately amazed by its beauty. Of course, June 12, 1976 was one of about five sunny days that year, a fact that I did not then appreciate. Over the next two years, I hiked around a bit and made thousands of photographs. Deciding where to go was quite a challenge, hiking was definately a challenge! Consequently I decided that I should "extrude" a topographic map into full three-dimensional reality, a scale model of Adak, so that I could more easily decide where to go. Here is the result. I spent six years making this, based on the one-inch-per-mile topographic map available at the time on the island. Obviously, I did not complete it soon enough to make good use of it, but on a subsequent tour of duty, it was indeed useful. Procedure: The idea is simple enough. I obtained a thick stack of 1/16 inch thick construction paperboard, such as the kind used by artists. It was expensive to buy and expensive to ship all the way from Seattle. Then, I copied the outermost contour, below-sea level, by tracing the contours through the map, then via carbon paper onto the construction board. After that, I traced the next higher contour, but with a dotted line, to serve as positioning when I cut out the next layer. Then, I cut the construction paperboard along the solid line. Here is where I experimented with many procedures. Scissors were impossible and hurt my hand. Wire cutters (end-cutting diagonal cutters) worked well for details but was very slow and eventually hurt my hand, too. Eventually I made a special perforation bit for my saber saw; by grinding away a regular saw blade (or bit) such that when it went up and down, it punched a tiny hole, much like you find on the edges of postage stamps (when they were gluey types that had perforated edges, of course). That procedure worked quite well for all the larger pieces, and diagonal cutters for smaller pieces. As I cut out each layer, I would glue it, and match the outline of the new layer, to the dotted image of where it was supposed to go, on the previously attached layers. Each layer represents a 100 foot contour of elevation. Mount Moffett, at approximately 4,000 feet elevation, contains 40 layers of paper plus an additional subsea layer (100 fathoms depth is outlined). To smooth it, I used a dental spatula and plastic wood to fill in the contours and form the riverbeds and lakebeds. Finally, I used Varathane Colors in Plastic to paint the model. Casting copies: Several years later, I cast a silicon mold. I nearly destroyed the original in the process. Bits of paraffin wax which I used as the mold release can still be seen, and some parts of the model I was obliged to reconstruct with plastic wood and have not repainted yet (Varathane colors are not so easily found, but are exceptionally durable). I made one copy of the island with Plaster of Paris, with a mesh substrate to keep it from falling apart. I painted it with landscape colors and with roads. That model hangs in the US Fish and Wildlife office on Adak. Eventually I'll make more. Casting the copies is easy; painting them is tedious and shipping them is a nightmare. The island is 33 inches across and takes a 3-foot by 3-foot by 5-inch crate. |
